loader

Activity No. 0: Getting started with the NUCLEO-L476RG board (IoT sensors kit)

Discovery of the STM32 L476 board and the Vittascience programming interface

The NUCLEO-L476RG board is a programmable card developed by the Franco-Italian company STMicroelectronics.

The internal memory of the NUCLEO-L476RG can accommodate a computer program (suite of instructions to be carried out) designed by the user. Composed of an STM32 electronic chip (known as a microcontroller), this card is programmed using a computer.

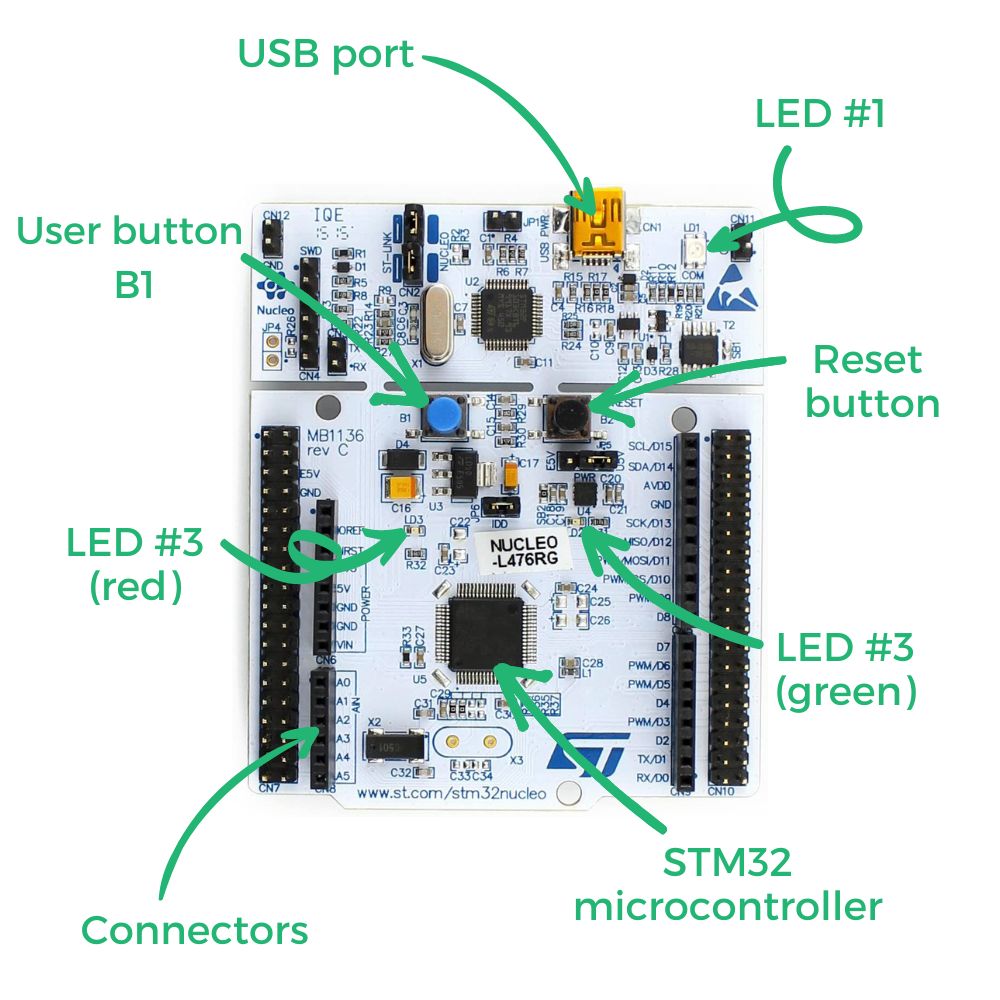
The board is made up of different parts, here are the most important in the diagram below:
 L476 parts-EN

The STM32 microcontroller is the main element of the card, it contains the user's program in its memory.

The USB port allows the card to be connected to the computer via the USB cable. This allows the card to be supplied with electrical energy, as well as the transfer of program data to the card.

The B1 button is used to interact with the board. An action can be performed when the following instruction "if button B1 is pressed, then...." is used.

The Reset button is used to relaunch the program in the card memory.

The LEDs (No. 1, 2 and 3) are indicators for the user. LED No. 1 indicates the power supply of the card. It flashes when copying a program. It cannot be programmed. LEDs n°2 and n°3 can be programmed by the user: to be on, off or flashing.

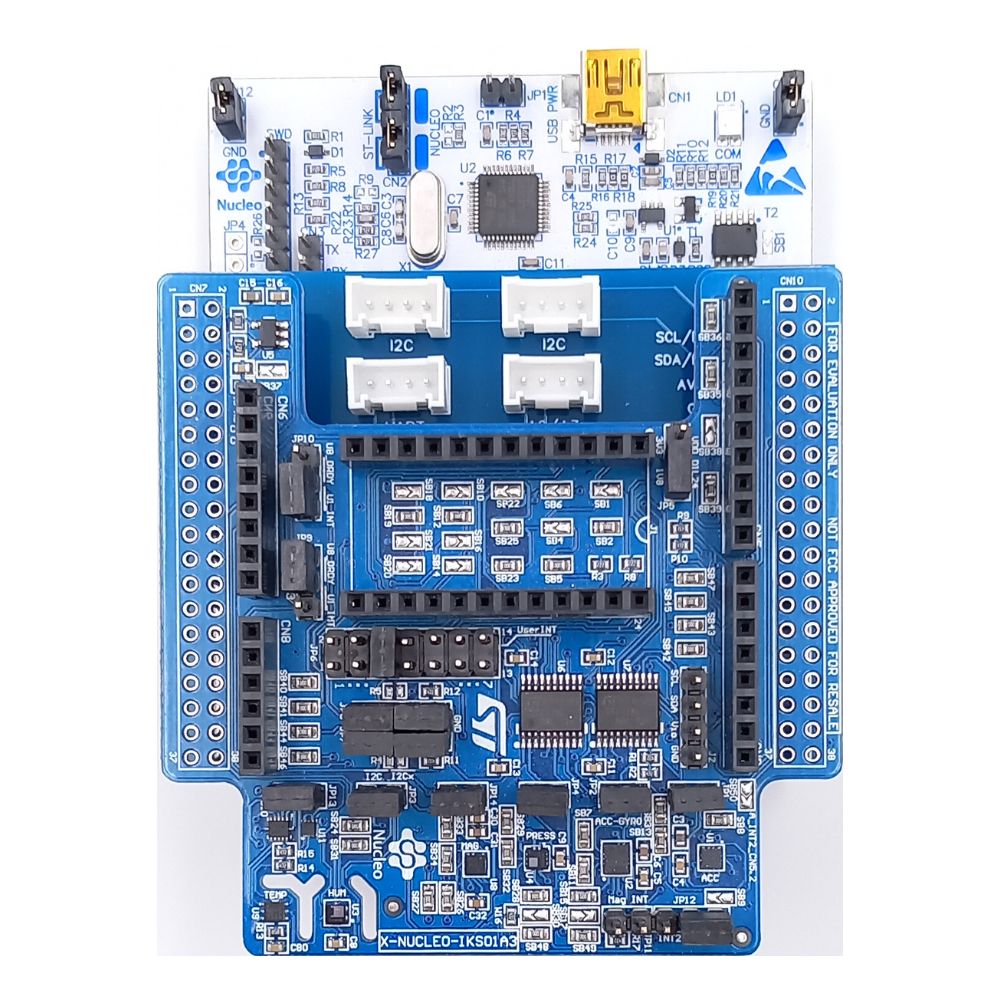
The connectors (in Arduino Uno format) are used to attach extension modules, this is particularly the case for the module named Base Shield Grove or the X-NUCLEO_IKS01A3 module supplied in the IoT Sensors kit with its Grove adapter.
shield-IKS+nucleo-FR

Other elements make up this NUCLEO-L476RG board, but they are not necessary for the discovery of programming with the IOT sensors kit. For more information: https://www.st.com/en/evaluation-tools/nucleo-l476rg.html

To program the NUCLEO-L476RG board, you must use the Vittascience interface, available at the following address: https://en.vittascience.com/l476/
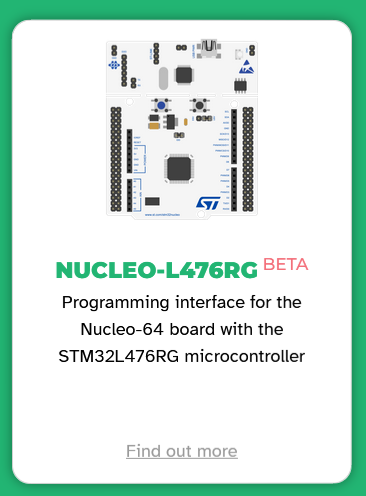
card

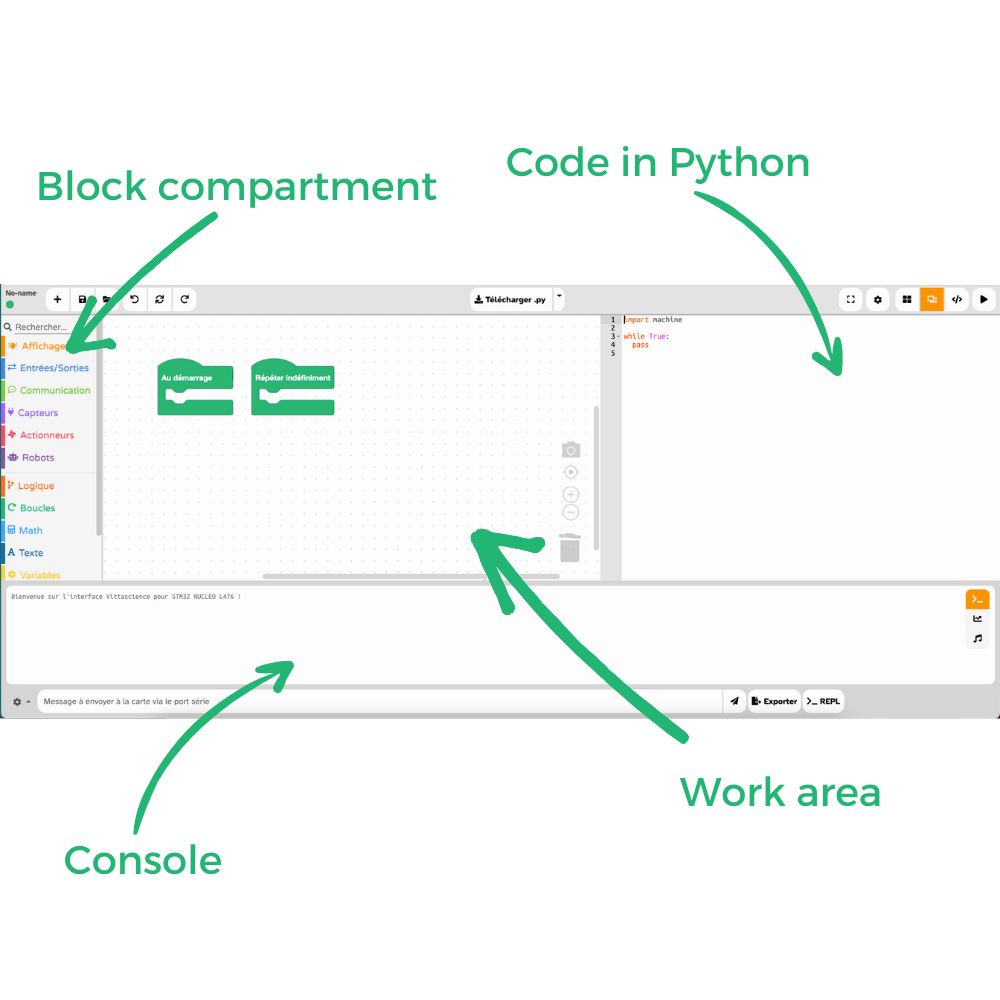
This free interface, available without installation from an internet browser, allows you to program the card. It consists of
different parts.
Interface-L476-EN

In the center, the work area allows the creation of the program. It accommodates the different blocks placed by the user to build the program.

The block compartment, located on the left, contains all the instructions for creating a program. For example: turn on the LED...

The zone located on the right corresponds to the created program which is displayed in the form of a text: code is generated there. The language used is specific for each microcontroller, here it is Python.

The console, at the bottom of the interface, allows the user to interact directly with the card connected to the computer. This area displays messages from the card, and the user can also send them.

The image below is interactive, you can click on the different elements to discover the Vittascience interface.


The "On start" and "Forever" blocks are the key elements of how the board works. They are present as soon as the Vittascience interface is opened.
The instructions placed in the "On start" block will be executed as soon as the card is powered up. While program instructions placed in the "Forever" block, will be executed after startup and then continuously until the board loses power.

Now let's move on to creating a first program!

We are going to proceed with the creation of a first program: light up LED n°2.

It is necessary to use blocks of instructions to build the program.
Each block corresponds to an action that the card will perform when the program is launched.

For this first program, you must use the "control the LED..." block located in the Display part of the block locker.
led-en

This block must be dragged and dropped on the work area and placed in the "Forever" block already present. 

A board simulator is integrated into the programming interface, it allows you to view the program created without copying it to the board.

To open the simulator, click on the following button:

sim-en

Here below is the simulator with a program. The created program causes the LED to flash every second.

Before copying a program for the first time on the card, using the Vittascience interface, you must install the firmware in micropython.
In a simplified way, we will proceed to the installation of the software of the card which will then make it possible to execute the program created by the user. We use the term flashing.

Here are the steps to flash the card:

1. Connect the cable to the USB port of the card,
2. Connect the cable to the computer,
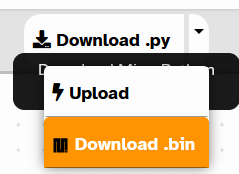
3. Click on the Download .bin button present on the Vittascience interface. It is accessible on the side arrow, next to the Download button.
 
televerser-en
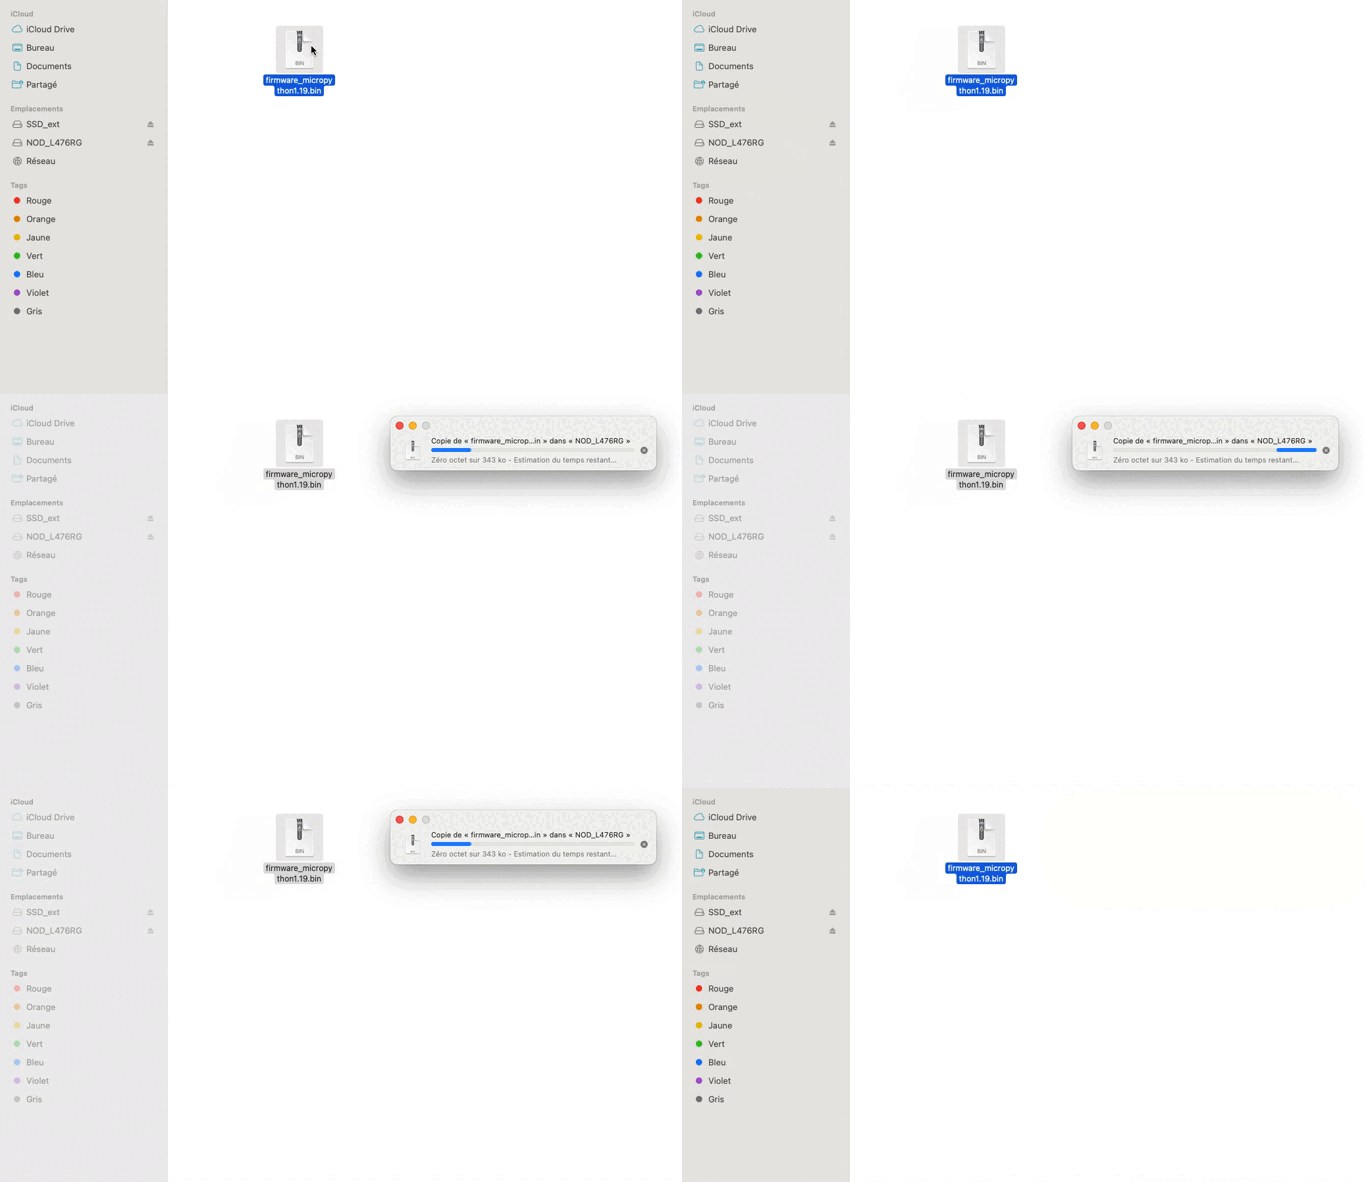
4. From your computer's file explorer (under Windows => My Computer / under Mac Os => Finder), drag and drop the firmware_micropython1.19.bin filefirmware-FR
5. Wait for the end of flashing. LED No.1 changes from red to green.
6. Unplug the card from the computer, then plug it back in. Your card is now ready to be used with Vittascience!

To copy the program designed on the Vittascience interface to the board, proceed as follows:

1. Connect the USB cable to the card port
2.Connect the cable to the computer
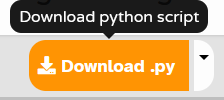
3. Click the Upload button

download-en

4. Wait for the end of the copying of the program. You can follow the progress in the console at the bottom of the interface.

You succeeded ? Perfect, you now know how to program your NUCLEO-L476RG card!
Discover the other activities of your IOT sensors kit by clicking on the icons below.

رخصة الاستخدام